Wednesday, August 31, 2011

Jerk-Spiced Catfish

"Cuisine At Home" magazine in their August 2011 issue brought tears to this southern girls eyes. Catfish with a kick, grilled not fried.  Granted the best way to eat catfish is soaked in buttermilk, coated in Zatarain's, deep fried, hand dipped in catsup and eaten until you are so stuffed that you realize you have forgotten to touch the obligatory sides of slaw and fries.

Last night, while trying to eat a tad better I decided to give this new way of cooking catfish a try. The New Food Lover's Companion describes Jamaican jerk seasoning as "[a] dry seasoning blend that originated on the Caribbean island after which it's named, and which is used primarily in the preparation of grilled meat. The ingredients can vary, depending on the cook, but Jamaican jerk blend is generally a combination of chiles, thyme, spices (such as cinnamon, ginger, allspice and cloves), garlic and onions."

Once you have your spices mixed and your grill heated this fish takes 6 to 7 minutes from grill to table. What's not to like about that?
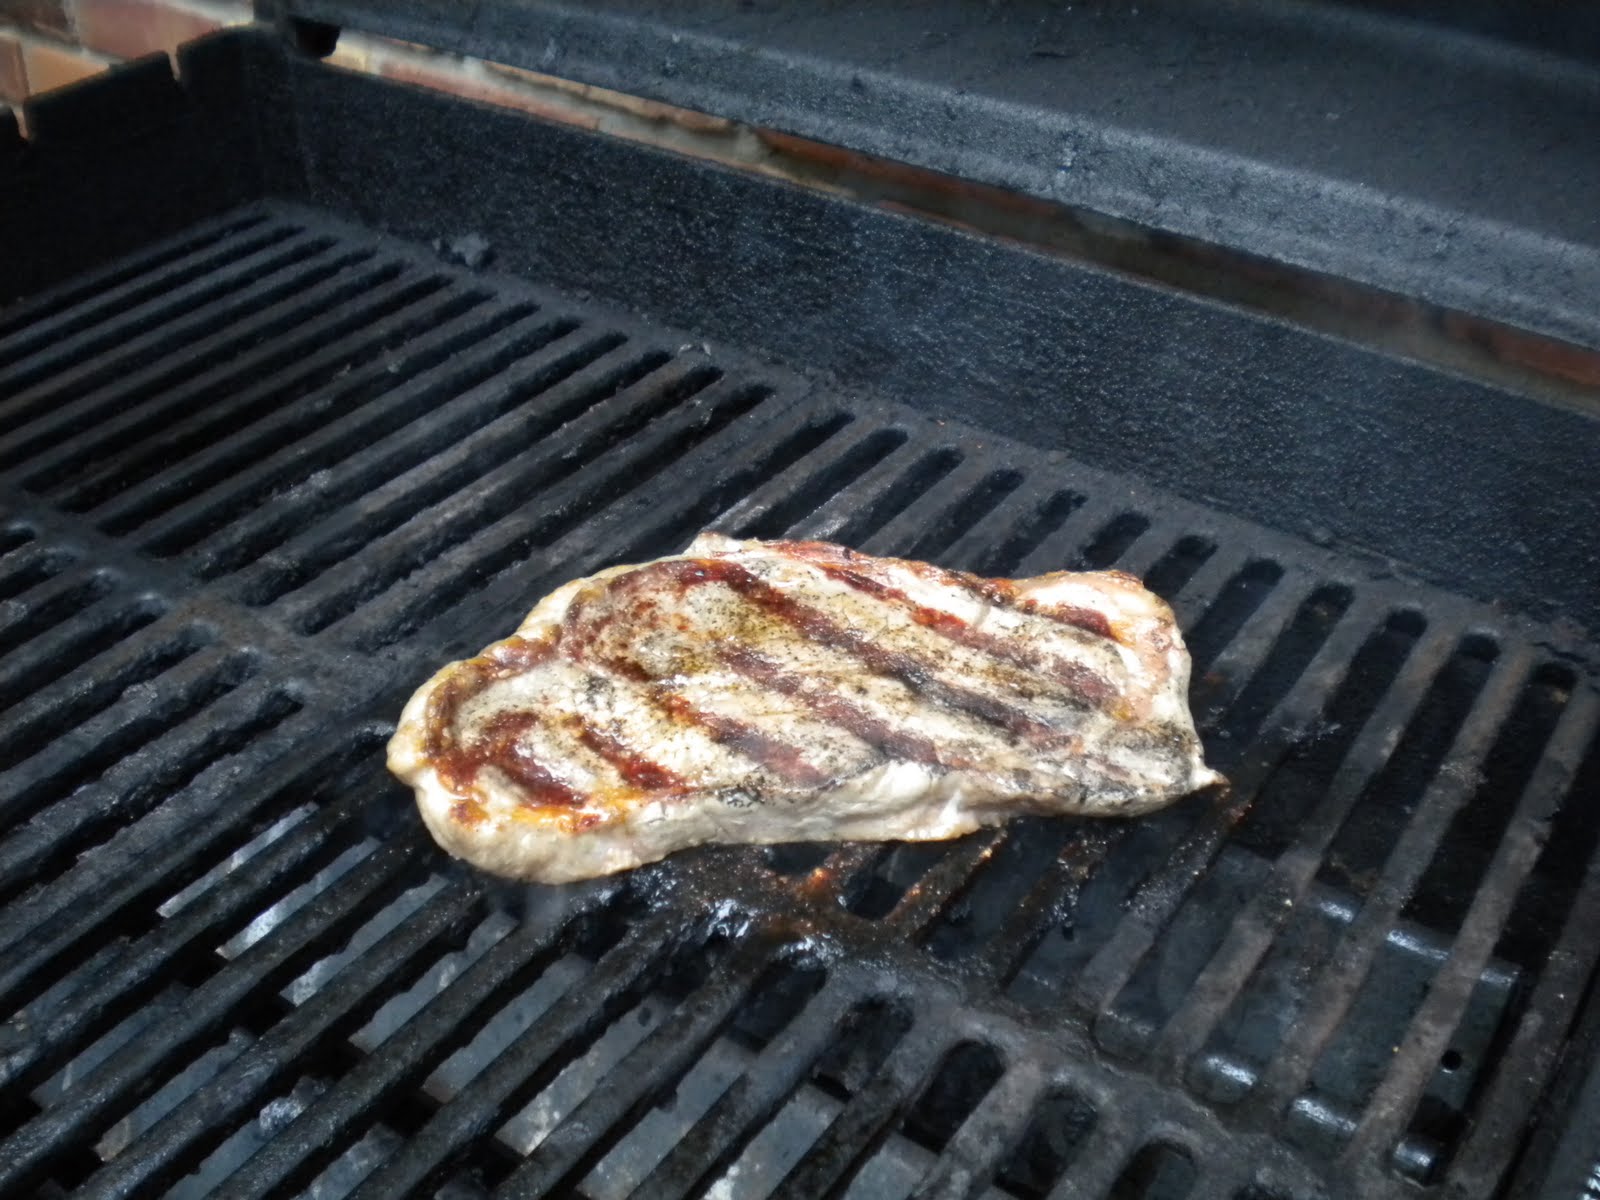
Jerk-Spiced Catfish


Store fresh fish on ice. But make sure as the ice melts, that water can drain so it doesn't pool around the fish, water logging it.

Calories: 177
Makes 4 servings
Total time 30 minutes

GRILL
4 catfish fillets (8 oz each)
1/4 cup Simple Jerk Seasoning

Preheat grill to medium-high. Brush grill grates with oil.
Sprinkle both sides of each fillet with seasoning. Coat fillets with nonstick spray.
Grill fillets, covered, until fish flakes easily with a fork, turning once, 3-4 minutes per side.

Simple Jerk Seasoning
Makes about 1/3 cup

1 Tablespoon each brown sugar, and ground coriander
2 Teaspoons each granulated garlic and dried thyme
1 Teaspoon each kosher salt, ground allspice, and ground ginger
1/2 Teaspoon each ground cinnamon and cayenne pepper

Combine brown sugar, coriander, garlic, thyme, salt, allspice, ginger, cinnamon, and cayenne in a small bowl. Store seasoning in an airtight container for up to 6 months.

Mike and I could hardly speak while eating this. The combination of the spices and brown sugar were different, spicy and savory and the aroma was delightful. I can't wait to try it on chicken and Mike's future holds a pile of jerk ribs. Labor Day weekend here we come!

Life is good - enjoy!

Sunday, August 28, 2011

Steak House Salad Pizza with Chunky Blue Cheese Dressing

Since I like food, and especially like looking at pictures of food it generally doesn't take me too long to decide to make something new.  When I came across the picture for a steak house salad pizza I knew I had to have it and to have it right away.  Check this out.
My Version of a Steak House Pizza

I have to say this is one of the best things I've eaten all summer. I'll post the calories at the end, but I have to tell you this pie is worth every one.

Steak House Salad Pizza
Use your favorite homemade pizza dough recipe, or to save time purchase fresh dough from your favorite pizza parlor, or use a prepared pizza crust.

Makes 4 servings
Total Time: 15 minutes

BRUSH
2 New York strip steaks, trimmed (8 oz. each)
Olive oil
Salt & Black Pepper

DIP
1 lb. fresh pizza dough, all purpose flour
1 1/2 cups shredded part-skim mozzarella

TOP
5 cups chopped romaine lettuce
1 1/2 cups chopped tomato
1/3 cup minced red onion
Chunky Blue Cheese Dressing to taste

Preheat grill to medium-high. Brush grill grate with oil.
Brush steaks with oil and season with salt and pepper. Grill steaks, covered, to desired doneness, 3 minutes per side for medium-rare. Transfer steaks to a cutting board and let rest 5 minutes before thinly slicing against the grain.


Dip dough in flour and roll into a 16" round. 


Lightly brush dough with oil and season with salt. Grill dough covered 2 minutes.


Flip dough, sprinkle on mozzarella, cover, and grill until cheese melts and crust blister and crisps, about 2 minutes.


Top grilled dough with romaine, tomato, onion, and steak slices. Drizzle pizza with chunky Blue Cheese Dressing.

Thank you "Cuisine At Home", Issue No. 88 August 2011 for coming up with this idea. This was so good. The crust was crisp and the toping were some of summers best bounty.  I have to admit I messed up with the directions. I was trying to cook this for the two of us and somehow didn't half the dough. I did use half the ingredients just twice the dough. Oh well this pie has 643 calories per serving with 12 grams of saturated fat and that doesn't cover the fact that we ate twice as much dough as we should have. I guess our bike ride tomorrow will have to be twice as long.

Life is good - enjoy!

Thursday, August 25, 2011

Summer Tomato Soups

It's the season for all things tomato.  I can literally eat them at every meal.  There are so many ways to devour them. Unfortunately, in the mid-west, they are only with us for a short time - perhaps that is why they are so special.  On August 5, 2011 Mark Bittman published an article titled "Recipes: The Proper Ways to Treat an Heirloom", in the "New York Times Magazine". Included was a recipe for Cold Cream of Tomato and Peach Soup. Doesn't this sound like nirvana? Cream, tomatoes and peaches - oh my...

I belong to a wine club and last Saturday was Mikes and my night to host.  The hosts, for the evening,  serve  the guests a table full of different appetizers. I wanted to include a cold soup, but I wanted to do something different from a gazpacho having never been a fan of uncooked soup. Mark Bittman came to my rescue.  I normally try to do a recipe just how the cook publishes it, but Mark didn't peel or seed his tomatoes or add any salt, so this one has been adapted to suit my taste.

Cold Cream of Tomato and Peach Soup
Serves 6 in 6oz containers or serves 18 as appetizers in 2oz. shot glasses!

At the start...
  • 1 onion chopped
  • 2 Tablespoons butter
  • 2 pounds tomatoes, peeled, seeded and chopped
  • 1/2 pound peaches, peeled, pitted and chopped
  • 1/2 cup cream
  • 1/2 teaspoon salt
  • Tarragon for garnishing

DSC_0073.JPG.jpg
Thanks to my friend Bonnie for a great photograph

  1. Cook onion in butter for 5 minutes.
  2. Add prepared tomatoes and peaches.
  3. Simmer until the tomatoes break up.
  4. Add cream and salt, puree and chill.
  5. Garnish with chopped tarragon.
This soup is delightful hot or cold with a smooth creamy texture and a touch of sweetness that you don't normally find in a tomato soup.

My next soup comes from the catalogs of Williams-Sonoma. They are  one of my favorite places to find a recipe. I don't think I have ever made anything, that they published, that wasn't good. (Can you imagine if the recipes were bad? How would they ever get you to buy a $245.00 Dutch oven to make tomato soup in?) Every summer I make their Summer Tomato Soup, and every summer I swear I'm going to put some up for the winter. I never do and in January I'm so disappointed when I open up my can of Campbell's Cream of Tomato Soup to accompany my grilled cheese sandwich. So here is their version, - I wouldn't change a thing.

Summer Tomato Soup
Serves 4

At the beginning...
  • 2 Tablespoons olive oil
  • 1 yellow onion, diced
  • 1 fennel bulb, trimmed and diced
  • 2 garlic cloves, minced
  • 1/4 cup dry vermouth (optional)
  • 2 pounds plum tomatoes, peeled, seeded and chopped
  • 2 tablespoons tomato paste
  • 4 cups chicken broth
  • Salt and freshly ground pepper, to taste
  • 2 tablespoons chopped fresh fines herbs (combination of parsley, chervil, tarragon and chives)
  • Creme fraiche for garnish
In Dutch oven (WS  - "please by ours") over medium-high heat, warm oil. Add onion, fennel and garlic; cook stirring occasionally, until tender, about 10 minutes. Add vermouth; cook until evaporated. Add tomatoes and tomato paste; cook, stirring occasionally until tomatoes begin to bread down, 8-10 minutes. Add broth; bring to a boil. Reduce heat to low; simmer about 20 minutes.

Using an immersion blender (WS - "please by ours"), puree soup, leaving some texture. Season with salt and pepper. Stir in fines herbes just before serving.


Ladle soup into warmed bowls; drizzle with creme fraiche.


I love this soup, and I love the things at Williams-Sonoma. For this recipe my Dutch oven came from Aldi's for $19.95 and my immersion blender from amazon.com. Save your money for their croissants and linens both are to die for.

Life is good - enjoy!


Monday, August 8, 2011

Italian Swiss Chard & Pasta

Swiss Chard in a square foot gardening box


2010 & 2011 tomatoes
Every summer we gardeners face the same problem. The harvest starts coming fast and furious and we can't keep up. We can't put it up or eat it fast enough. I don't even plant that much and I can't keep up.  I have a four foot square box of Swiss chard.  It has fed me now for months and will probably continue to feed me into fall. Mike doesn't really care for it, so it is up to me to consume its goodness. If you haven't ever tasted Swiss chard it reminds me of spinach, it's just as healthy and can be prepared in similar ways. My second problem, from the garden, is the crazy amounts of tomatoes that are ripening each day. We try to consume them while fresh but sometimes I have to add them to my canning tomatoes.  I still have three quarts of canned tomatoes left from 2010 and a bounty of Swiss Chard - so what's a girl going to make for lunch? I always take my recipes from other people but today this one is mine.

Italian Swiss Chard & Pasta
Serves: 4

  • 1 bunch of Swiss Chard
  • 4 cloves garlic, chopped
  • 1 teaspoon + 1 tablespoons olive oil
  • 1/8 teaspoon salt
  • 1/8 teaspoon crushed red pepper flakes
  • 1 quart chopped tomatoes
  • 4 tablespoons tomato paste
  • 2 teaspoons of sugar, optional
  • 8 ounces pasta of choice
  • Parmesan cheese to taste or a vegan grated topping
Removing tough stems
  1. Place one teaspoon of olive oil in a sauce pan over medium heat. Add garlic and cook just until you can smell the aroma of the garlic - about 30 seconds. Add tomatoes to the garlic. Add tomato paste and bring to a boil. Reduce heat to a simmer and let reduce by 1/3 of its original volume to thicken. Add sugar if desired and cook for an additional 5 minutes.
  2. While tomatoes are cooking prepare Swiss Chard by removing the tough stems (I just turn the leaf over and fold the leaf in half exposing the vein and cut a "V" to remove it.) Cut into 1 inch strips and rinse under running water. Spin dry and set aside.
  3. Heat 1 tablespoon of olive oil in a sauté pan over medium heat.  Add Swiss chard, salt, and crushed red pepper flakes. Cook until the Swiss chard has wilted. This can now be set aside while you prepare your pasta.
  4. When your pasta is complete ladle on a large scoop of tomatoes, some Swiss chard and top with the Parmesan. 
This is such a simple, nutritious and clean entree. I ate this for my lunch for four days in a row. It keeps nicely in the refrigerator with a quick reheat of the tomatoes and chard. I did make my pasta fresh each day.

Life is good - enjoy!

PS - Tomato paste hint.  I hate to use a tablespoon or two out of a can of tomato paste and then it goes bad before I can finish it.  Now I purchase the biggest can available and put tablespoon sized dollops onto a parchment covered baking sheet.  I then put them uncovered into the freezer until frozen.  Remove and seal in a Zip Lock and return to the freezer for perfect sized portions anytime you need them.


Friday, July 29, 2011

Watermelon Burgers & Curry Rubbed Sweet Potato Planks

Call me a liberal, and you'd be right.  I actually have The New York Times delivered to my house every Sunday. Mike takes the entire week to read and savor each section. He always begins with the book review.  I normally read only one section - The New York Times Magazine.  I head for the back of the magazine to a section called "EAT".  The article is always about some type of food, a bit of background is given and a recipe as well.  On July 10, 2011 Mark Bittman did an article called "Throw Another Melon on the Barbie". (Mark describes himself as "... an avid home cook since 1968, a journalist for nearly as long (longer if you count [his] high school yearbook!) and a professional food writer since 1980." He is not a chef but has worked/cooked with a number of chefs from around the world, and has written a few cookbooks.) Mark's article arrived, in our driveway, during our let's try to be vegetarians phase of cooking, eating and blogging. The timing couldn't have been better!


All the pictures of the fruits and vegetables looked great. He made portobello's with a Vietnamese-style marinade, curry-rubbed sweet potato planks, teriyaki cabbage steaks, chilli-rubbed jicama steaks with queso fresco, miso-glazed eggplant slices and last but not least watermelon burgers with cheese. I decided to try the sweet potatoes and the burgers.


The problem was we were only about three weeks into the whole vegetarian/vegan lifestyle. We were both beginning to miss meat.  We fell hook, line and sinker for the words "steaks" and "burgers" that were appended to the grilled vegetables and fruit names. The watermelon may take on the shape of a burger but it definitely is not a burger. 


We were so excited to try these burgers until we took the first bite.  I can't tell you what a disappointment they were. They tasted just how you might imagine -  a grilled hot sweet piece of watermelon that dripped its liquid with each bite. I usually don't blog about my failures in the kitchen, but I wanted to get the word out that a watermelon should never ever be heated or grilled. Enjoy it for what it is and get your "burgers" a more conventional way. 
To be fair I wanted to see if any other home cook/blogger had tried to make this recipe. I found a blog called The Nervous Cook that had a totally different opinion. Perhaps he/she is a much better cook than me or I have the palate of a goat!

At the same time we tried Mark Bittman's Curry-Rubbed Sweet-Potato Planks. There were fantastic, easy to prepare and a side dish that is good for you.


Curry-Rubbed Sweet-Potato Planks
Time 40 to 45 Minutes


Ingredients:

  • 2 teaspoons curry powder
  • 1 teaspoon ground cumin
  • 1 teaspoon ground coriander
  • salt and black pepper
  • 2 pounds sweet potatoes peeled and cut lengthwise into 1/2-inch slices
  • 2 tablespoons neutral oil, like rapeseed or corn
  • Lime wedges for serving
  1. Heat a charcoal or gas grill to moderately high heat, keeping part of the grill cool for indirect grilling, and put the rack about 4 inches from the flame. Combine the curry powder, cumin, coriander and a good sprinkle of salt and pepper in a small bowl. Brush the sweet-potato slices with the oil and rub all over with the spice mixture.
  2. Put the sweet-potato planks on the cool part of the grill and close the grill cover. Cook, checking and turning occasionally, until the flesh is very tender all the way through, 20 to 25 minutes. Move the planks to the hotter part of the grill and cook, turning once or twice, until golden brown on both sides, 3 to 5 minutes. Serve hot, warm or at room temperature with lime wedges.
You may be tempted to leave off the lime wedges thinking of them more as a garnish instead of an ingredient.  The lime adds a tart flavor to the sweetness of the potato that makes the entire dish quite satisfying. These planks are restaurant worthy but simple enough to do at home.

Life is good - enjoy!


Tuesday, July 19, 2011

Italian Vegetable Ragout

Today makes my twenty-second day of being a vegetarian and part-time vegan. It has been a wonderful adventure with only one meal being a catastrophe. I tried to stay away from processed vegetarian fare using only fresh or canned ingredients.  To help me in my quest for delicious food I purchased Robin Robertson's Fire & Spice.
510aCK7VtSL._SS500_.jpg 

What a treat! This book has 200 global recipes that are 100% vegan using readily available ingredients. You get to try the spicy cuisines of the U.S., South America, Mexico, the Caribbean, Europe, Africa, the Middle East, India and Asia.  Trying to decide with ones to blog about is difficult because everything we tried was wonderful.

One of our favorites turned out to be the Italian Vegetable Ragout. This is a perfect recipe to make as you bring in your gardens bounty or after a trip to your farmer's market.

Italian Vegetable Ragout

Ingredients:


  • 2 tablespoons olive oil
  • 1 yellow onion, chopped
  • 1 red bell pepper, chopped
  • 3 garlic cloves, chopped
  • 1/3 cup dry white wine
  • 2 zucchini, halved lengthwise and cut into 1/2-inch slices
  • 2 pounds fresh ripe tomatoes, chopped
  • 1/2 teaspoon marjoram
  • 1/4 teaspoon hot red pepper flakes
  • 1 1/2 cups cooked or 1 (15.5-ounce) can cannellini beans, drained and rinsed
  • 1 1/2 cups vegetable broth or water
  • Salt and freshly ground black pepper (I used 1/2 tsp. salt, 1/4 tsp. pepper)
  • 2 tablespoons chopped fresh parsley
  • 2 tablespoons chopped fresh basil
Directions:
Heat the oil in a large skillet over medium heat. Add the onion, bell pepper, and garlic. Cover and cook until softened, about 10 minutes. Uncover, stir in the wine and cook until it evaporates. Add the zucchini, tomatoes, marjoram, hot pepper flakes, cannellini beans, broth and season to taste with salt and pepper. Cover and cook over medium heat until the vegetables are tender, about 20 minutes. Just before serving, stir in the parsley and basil.

Serves 4

I did not use the olive oil - just sprayed a little vegetable spray in the pan before adding the vegetables. I did not miss it at all or the additional 250 calories it adds to the entree. The recipe easily divides in half. All you need is a crusty loaf of warm Italian bread to make this meal complete.

I'm not sure how long I will be living the vegetarian life, but I do know that for our little planet and for our big bodies it is a great way to eat. The meals I have prepared were delicious and quite inexpensive to make. Summer is a great time to give a vegetarian meal a try. So, on your next meatless Monday give this a try.

Life is good - enjoy!

Sunday, July 10, 2011

Summer Cocktails

I've never been much of a cocktail drinker. I'll drink a gin and tonic on occasion as well as a bourbon and coke, but nothing too fancy.  This summer I decided to up my cocktail game and try to make something that was fresh from summers bounty.

The first thing I found was Bobby Flay's Blackberry-Bourbon Iced Tea. This was published in the Food Network Magazine, issue June, 2011.

Blackberry-Bourbon Iced Tea

Bobby Flay's Blackberry-Bourbon Iced Tea
Serves: 4 to 6

  • 3 cups fresh blackberries
  • 3/4 cup sugar
  • 2 tablespoons chopped fresh mint, plus mint sprigs for garnish
  • 6 good-quality black tea bags
  • Good quality Bourbon, to taste (Bobby likes Woodford Reserve)
  1. Combine the blackberries, sugar and chopped mint in a large bowl and mash with a potato masher or wooden spoon; let sit while making the tea.
  2. While the blackberries are macerating, bring 1-1/2 quarts cold water to a boil in a medium saucepan. Remove from the heat, add the tea bags and let steep for about 3 minutes. Remove the tea bags and pour the tea over the blackberry mixture. Let the mixture sit at room temperature for at least 1 hour to let the flavors meld.
  3. Pour the mixture through a strainer into a pitcher, pressing on the solids. Cover and refrigerate until cold, at least 2 hours. (You can also pour the mixture into a bowl set over an ice bath to cool it faster.)
  4. Serve the blackberry tea over ice in tall glasses and float a shot of bourbon on top of each. Garnish with fresh mint sprigs (like a mint julep).
This was pretty good. Although I didn't think you could taste much of the bourbon - perhaps a touch more would be appropriate here.

My next find comes from the series Mad Men. They did a link on Twitter for their favorite cocktails from the 1960's. I chose their Tom Collins.


Tom Collins 

INGREDIENTS
1 oz fresh lemon juice
1 tsp sugar
1½ oz of gin
Lemon slices

INSTRUCTIONS
Mix sugar, gin, and juice over ice in mixing glass. Stir, strain in cocktail glass with ice, and top off with soda water. Garnish with lemon slices.
This is basically a lemonade with gin. So light and refreshing. This is the kind of drink that can  sneak up on you so take your time and enjoy.


My last selection. a watermelon vodka slush came from allrecipes.com that was submitted by Michael Allbright.


Watermelon Vodka Slush
Prep Time: 10 minutes     Ready IN: 4 hours & 20 minutes     Servings: 4


Ingredients:
4 cups watermelon flesh, seeds removed
2 fluid ounces simple syrup
2 tablespoons lemon juice
1 cup vodka
2 fluid ounces melon liqueur
4 twists lemon zest, garnish


Directions:
In a food processor, puree the watermelon flesh. Pour the pureed watermelon into empty ice cube trays and freeze for at least 4 hours. Also, freeze martini glasses.
In a blender combine the frozen watermelon cubes, simple syrup, lemon juice, vodka and melon liqueur; blend until smooth. Pour into 4 frozen martini glasses and garnish each with a lemon twist.


This was really fun to eat. Although I thought it was a bit bitter. I remedied this by tripling the simple syrup. I also substituted triple sec for the melon liqueur.


I have an ice cream freezer which attaches to my mixer.  I put the pureed watermelon and the rest of the ingredients into it, stirred it up and placed the whole thing in the freezer overnight. The next day I attached it to the mixer and blended it to a beautiful slush mixture. (The alcohol keeps the mixture from freezing solid.)


I also had no idea how to make a lemon zest for the garnish. YouTube came to my rescue with a video, and it turns out that I had the tool I needed for years in my kitchen tool drawer.


Life is good - enjoy!


Followers